
Laser Sintered Appliances
All-Metal Sintered Hawley
A Hawley with the palate, clasps and bow printed as one piece of metal — thin, rigid and impossible to snap at a solder joint.
DigitalScan or impression
Learn moreStart a case
Digital · Laser sintered
Expanders, holding arches and bands printed in metal from your intraoral scan. No separator appointment, no band fitting, no solder joints — a one-piece frame that fits because it was built on the tooth it sits on.
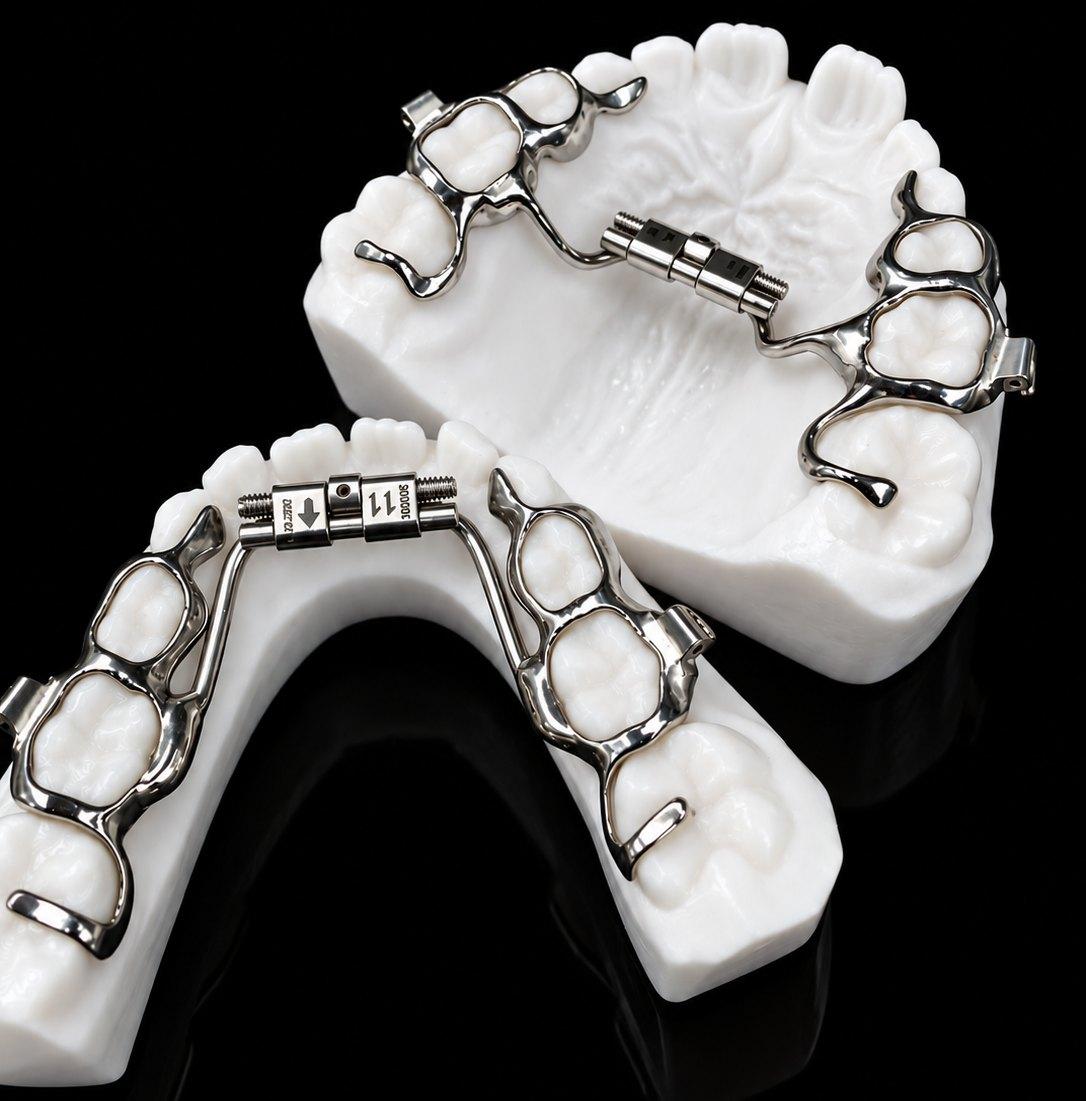
Band position is designed into the file, so nothing has to be wedged between the teeth first.
Each band is printed to the scanned tooth, not chosen from a tray of sizes and pushed to fit.
Bands, arms and connectors print as one piece. The joint that used to fail is not there.
Why sintered
The band follows the actual clinical crown, undercuts and all, because it was built on it. Path of insertion and interproximal clearance are resolved on screen, not in the chair.
The separator visit and the band-fitting visit go away. The patient comes in for records and again to seat the appliance.
A printed band is only as thick as it needs to be, and the connector can be shaped to the palate rather than bent to reach it. Patients notice.
A soldered joint is where a conventional expander breaks. A sintered frame has none. The screw is the only separate component.
The design file is kept with the case. A lost or damaged appliance is reprinted from the same file, without a new impression.
Seating a printed appliance is cementing, not fitting. The published technique reports a shorter delivery appointment and fewer of them.
How it is made
The work moves from your scanner to our design screen to the printer, and only then to the bench. Everything a technician used to do with a band pusher is decided in the design.
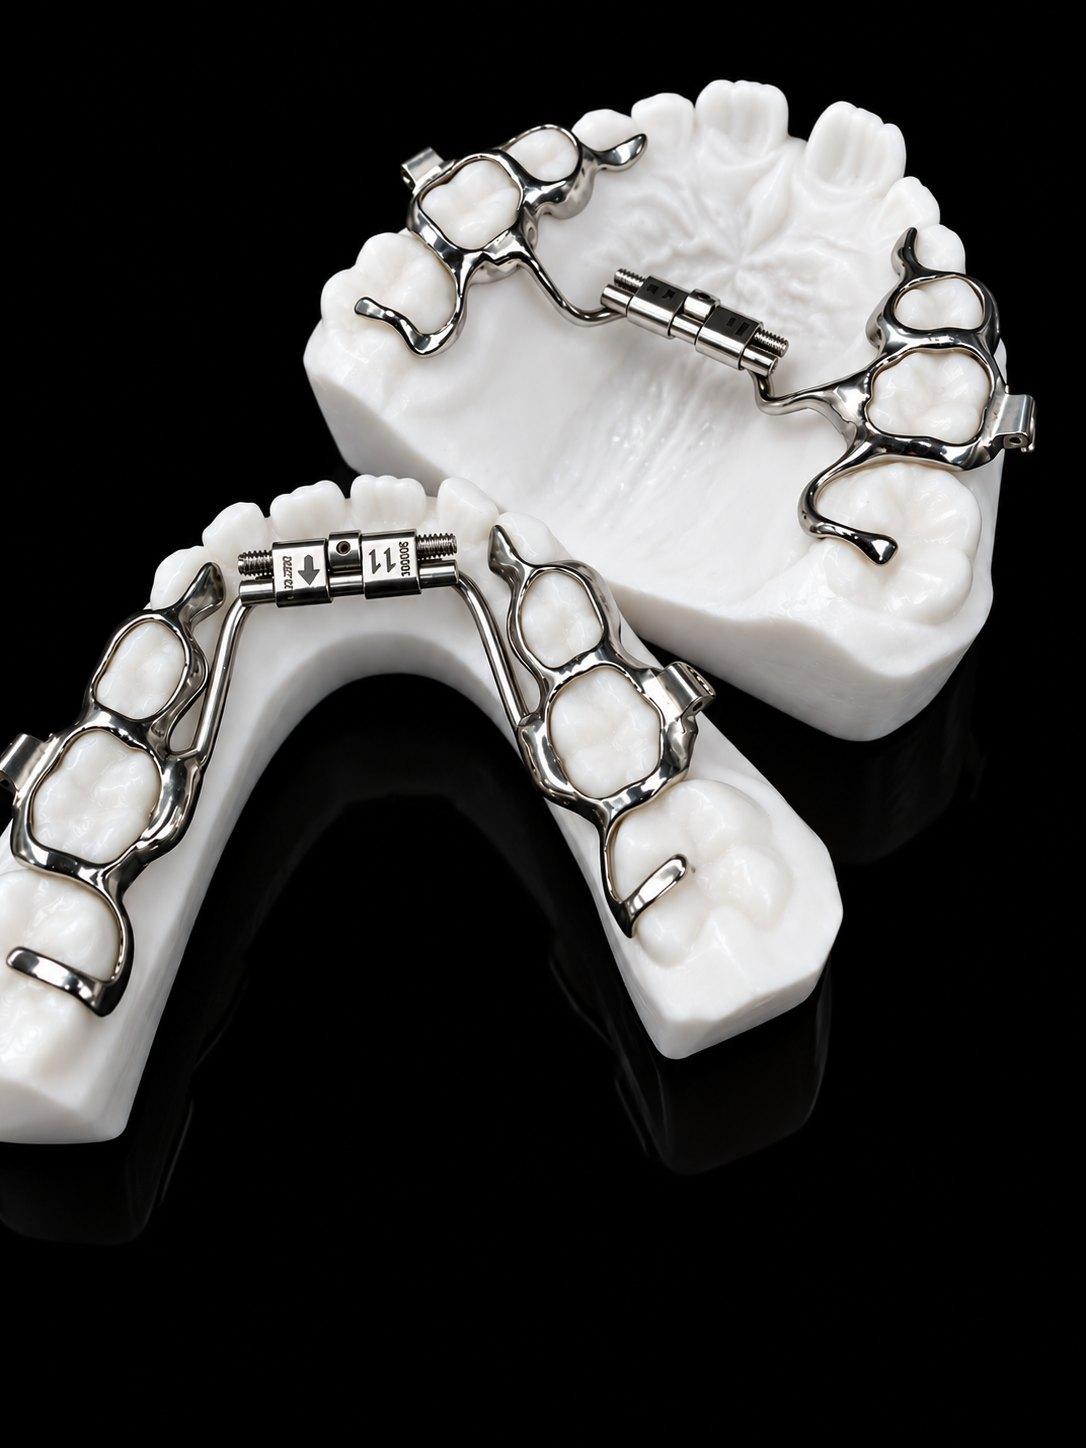
Chairside
A full-arch intraoral scan that captures the clinical crowns of the abutment teeth. Add a bite if the design needs one.
Design
Band coverage, connector path and screw position are designed on the scan. Coverage is placed to clear the interproximal contact and the gingiva.
Metal powder is fused layer by layer into the finished frame — cobalt-chrome as standard, stainless steel where you want chairside adjustability.
Bench
Supports come off, the frame is polished, and the expansion screw or auxiliary is fitted. Every piece is checked against the scan before it ships.
Delivery
A thin layer of band cement on the fitting surfaces and the appliance seats in one motion. No separators, no wedging.
What we sinter
If it was banded, it can usually be printed. Prescribe the appliance as you normally would and tick sintered; if a design is a poor candidate we will tell you before we start.
Not sure which? Say so on the prescription and the case desk will call with a recommendation for the design.
Laser Sintered Appliances
A Hawley with the palate, clasps and bow printed as one piece of metal — thin, rigid and impossible to snap at a solder joint.

Laser Sintered Appliances
Nance holding arch printed as one frame — bands, palatal wire and button base — with acrylic added at the bench.

Laser Sintered Appliances
Bands, arms and connector printed as one frame from the scan, with the expansion screw fitted at the bench. No separators, no band fitting.

Laser Sintered Appliances
Band-and-loop and distal-shoe designs printed in one piece — no solder joint at the loop, no separator for the child.

Laser Sintered Appliances
Printed anchorage for pendulum and distalizing designs, with the springs and acrylic added at the bench.
Laser Sintered Appliances
Tongue crib or habit cage printed with its bands as one frame.
Laser Sintered Appliances
Printed crowns and bands for Herbst anchorage, with the telescopic hardware fitted at the bench.
Laser Sintered Appliances
Lower holding arch printed as a single frame from the scan, sized to the arch it will sit in.
Laser Sintered Appliances
Quad helix on printed bands with lingual sheaths, so the helix can still be removed and adjusted chairside.
Laser Sintered Appliances
TPA with bands and arch printed together; the omega loop is designed in, not bent in.
At the chair
It cements like a banded appliance and comes off like one. The difference is that nothing has to be fitted first.
A thin, even layer on the fitting surfaces. A coloured compomer band cement makes clean-up and later removal easier.
Self-etching primer on the lingual enamel before cementing improves retention on the partial-coverage design.
One motion, fully seated. The occlusal windows over the first molars let you confirm it is down.
A standard debanding plier through the occlusal window, exactly as you would remove a banded expander.
What to send
Send directly from iTero, 3Shape, Sirona Connect or DS Core. Add Gergen’s as a recipient in the scanner software and the case arrives here without an export.
Prescribe the design you already use and ask for it sintered. If you want to talk a first case through, the case desk will.